Summary
This guide will describe how to set up a test device and install the tools necessary to perform Android Security Assessments using Android Studio.
Install and Configure Android Studio
Download and Install Android Studio
Add the following to your $PATH:
$HOME/Library/Android/sdk/platform-tools$HOME/Library/Android/sdk/emulator$HOME/Library/Android/sdk/build-tools/INSERT_VERSION
Test that the installation and configuration is successful by running
adbandemulator
1
2
3
4
5
6
7
➜  adb version
Android Debug Bridge version 1.0.41
Version 31.0.3-7562133

➜  emulator
INFO    | Android emulator version 31.2.8.0 (build_id 8143646) (CL:N/A)
ERROR   | No AVD specified. Use '@foo' or '-avd foo' to launch a virtual device named 'foo'
Create VM
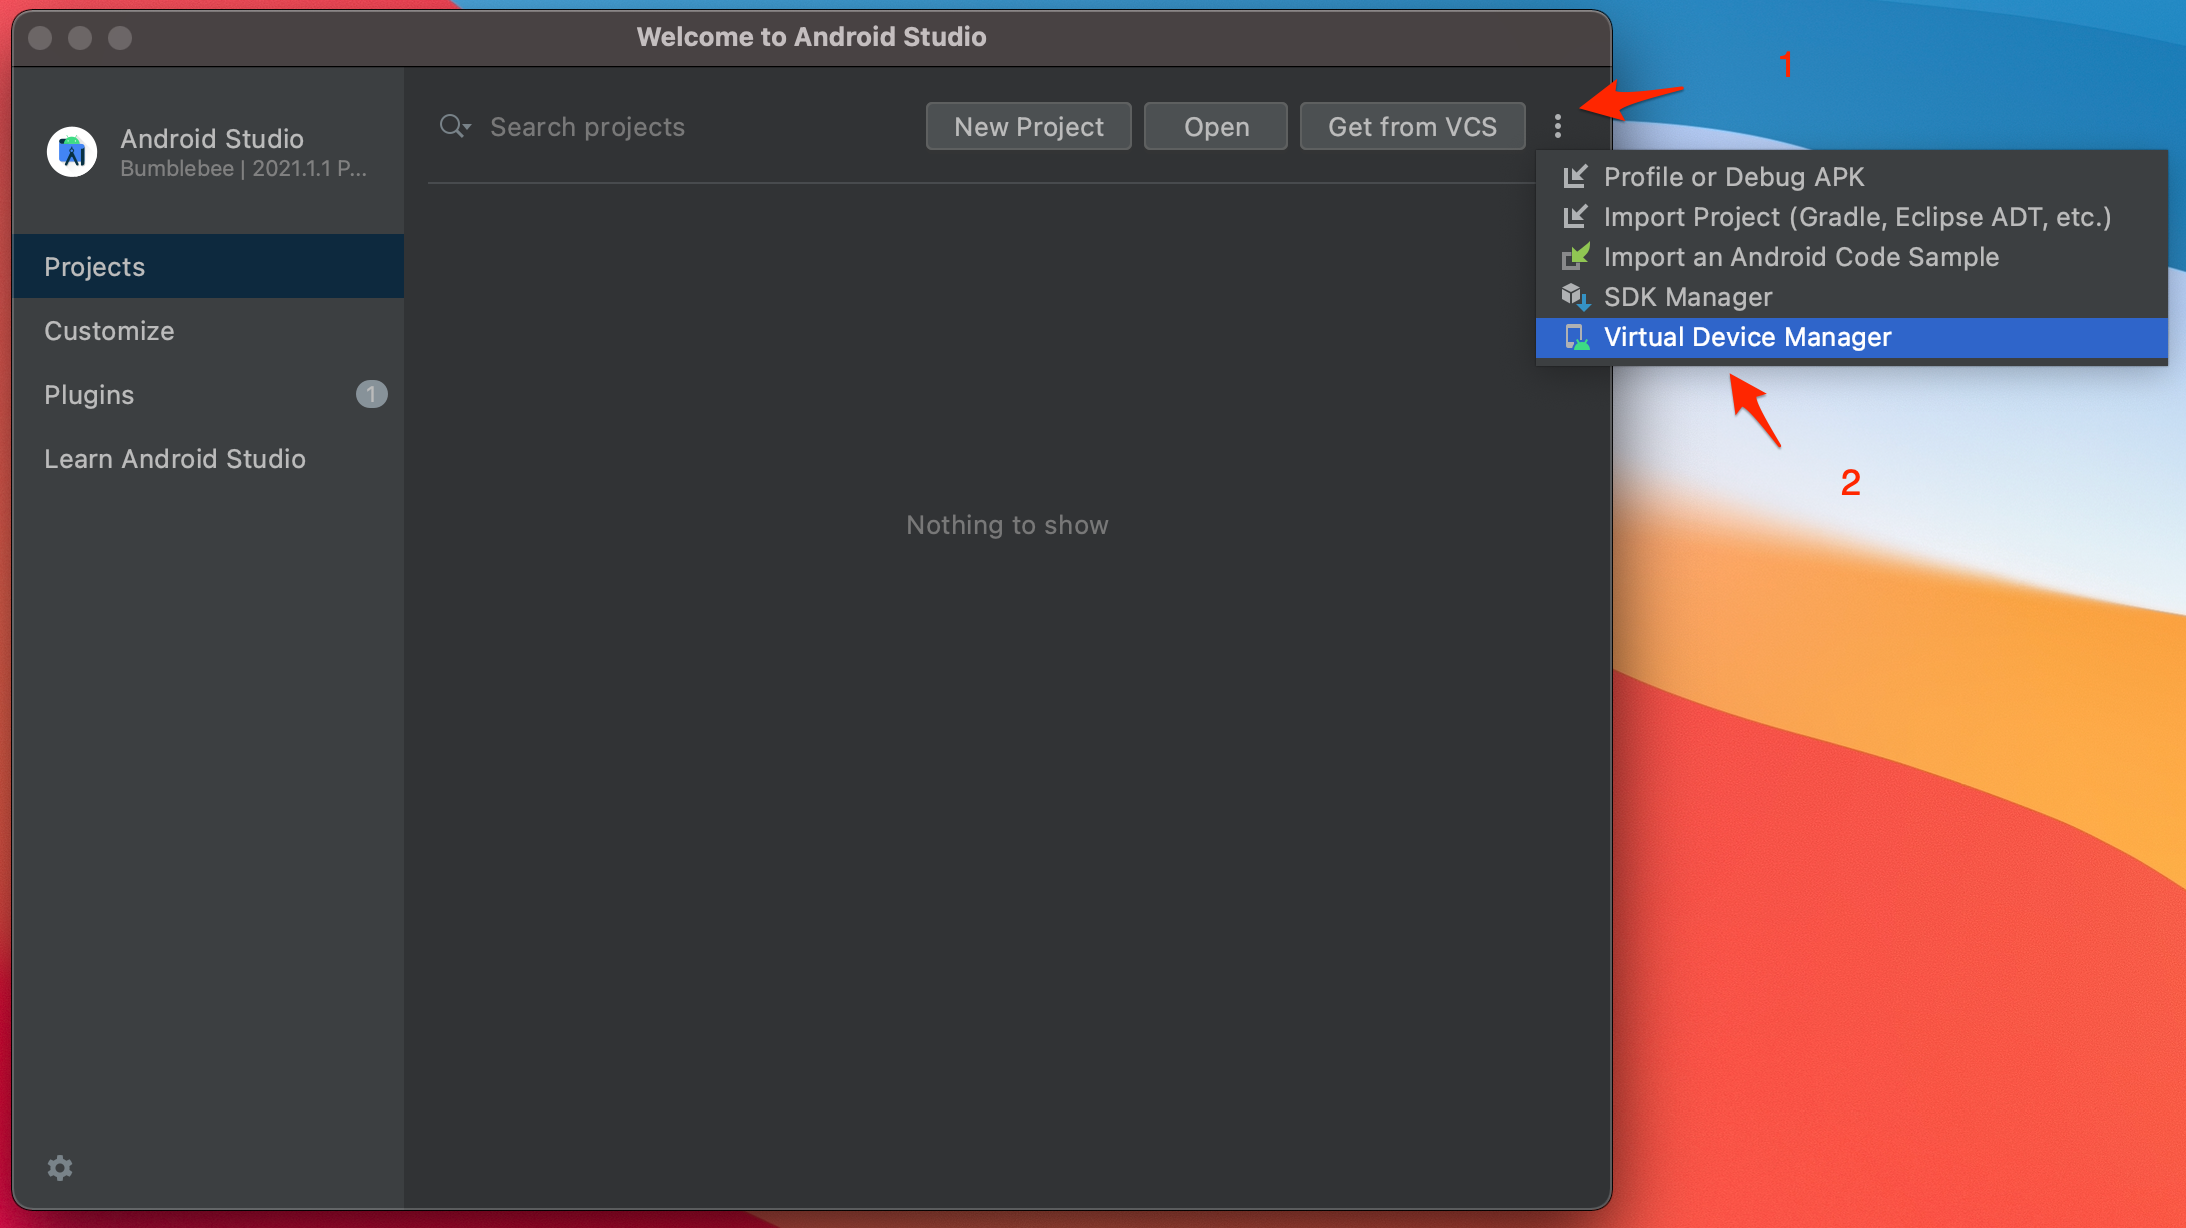
- Select the menu bar and choose
Virtual Device Manager.![image]()
If the menu bar isn’t visible, then there should be a link that says
More Actions. Clicking on this should reveal theVirtual Device Manager.
Select
Create deviceand then choosePixel XL, andNext.![image]()
Select
Pieand then chooseNextandFinish. If this is the first time using the System Image, you will have to clickDownloadfirst next to the release name.![image]()

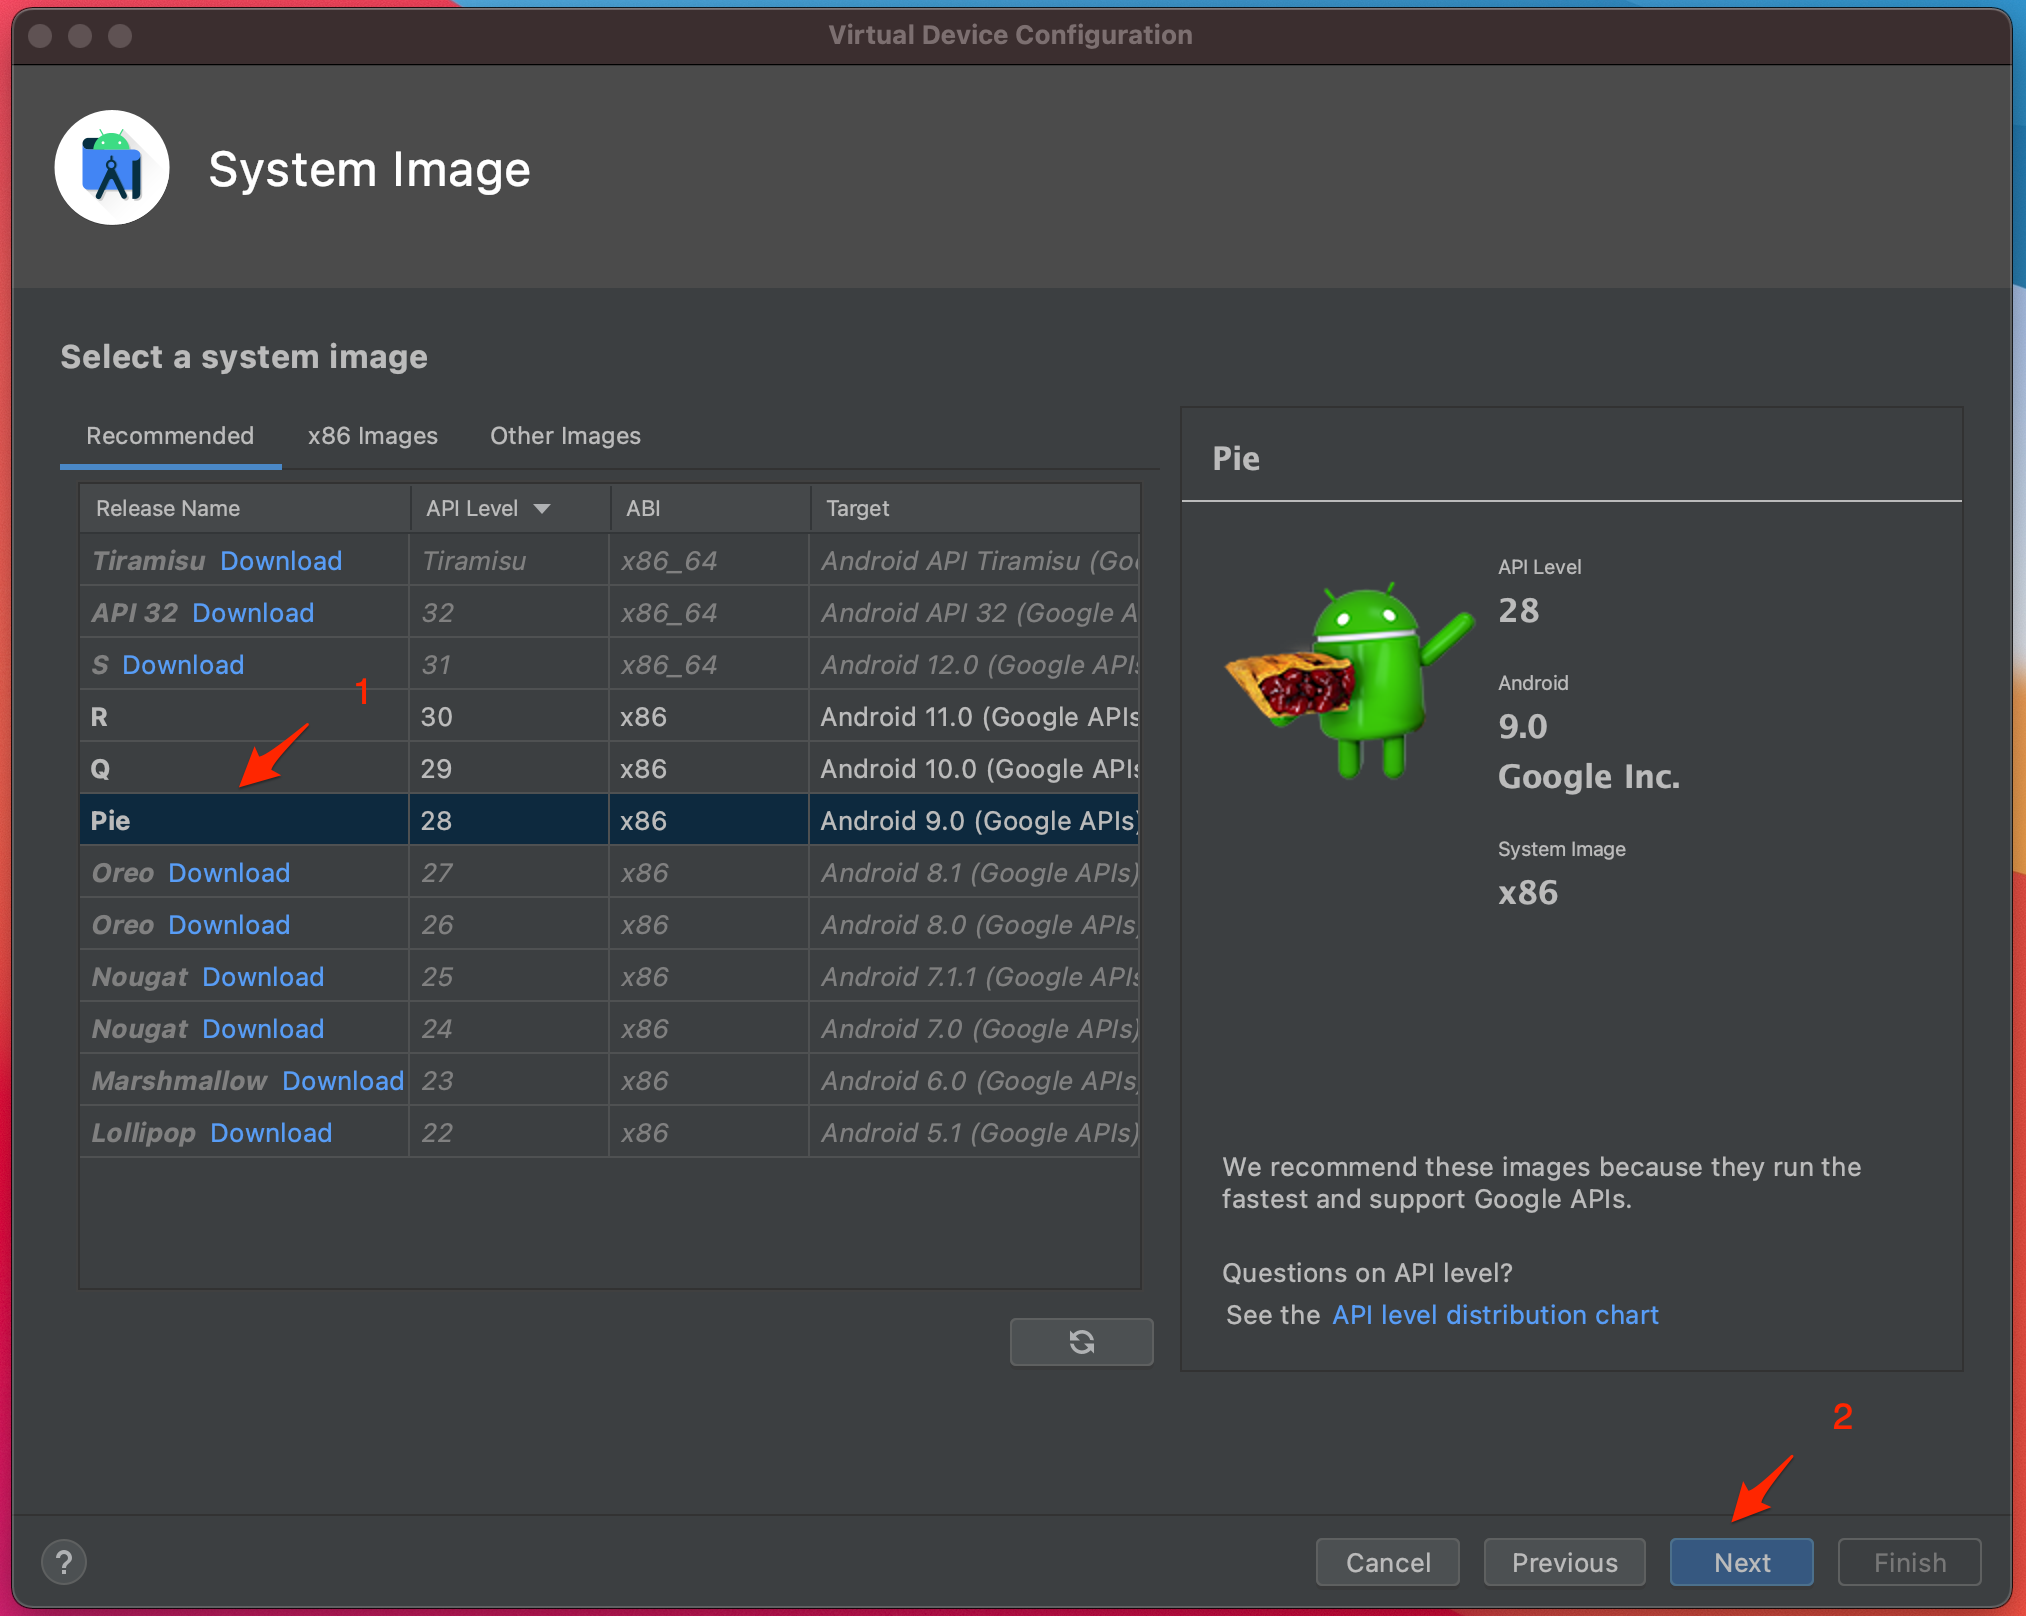
These settings can be changed according to your needs, but I have had the most success with this setup. Avoid using any phone or tablet that has a check in the Playstore column.
Install Burp Certificate
- Download the Burp Suite certificate and rename it from
cacert.dertocacert.cer. - Power on the emulator and drag the certificate to it.
- Swipe up from the bottom and choose
Settings. - Type
certin the search box and selectInstall from SD card. - Click on the menu in the top left corner.
- Select
Downloads. - Double click on
cacert.cer, name the certificateBurp, and selectOK - A screen should now pop up notifying you that a lock screen needs to be set. Select
SET LOCK. - On the next screen, select
Continue without fingerprint, and thenPIN. - Select
NOon the Secure start-up screen. - Set your pin, confirm it, and then select
Done. - This will bring you back to the
Encryption & credentialsscreen. SelectInstall from SD card. - Double click on
cacert.cer. - Enter the PIN that was just created.
- Name the certificate
Burp, and selectOK
Add Certificate to System CA Store
- Power off the emulator and then select the
xto completely close it. - Open a new terminal.
- Using the emulator command, list all Android virtual devices. This should display the name of the device that was just created.
1 2
➜ emulator -list-avds Pixel_XL_API_28 - If all went well, enter the following, replacing
Pixel_XL_API_28with your virtual device name.1
➜ emulator -avd Pixel_XL_API_28 -writable-system
This will power on the device with a writable system image.
- Open a new terminal and enter the following:
1
2
3
4
➜  adb disable-verity
➜  adb root
➜  adb remount
➜  adb shell "cp /data/misc/user/0/cacerts-added/9a5ba575.0 /system/etc/security/cacerts"
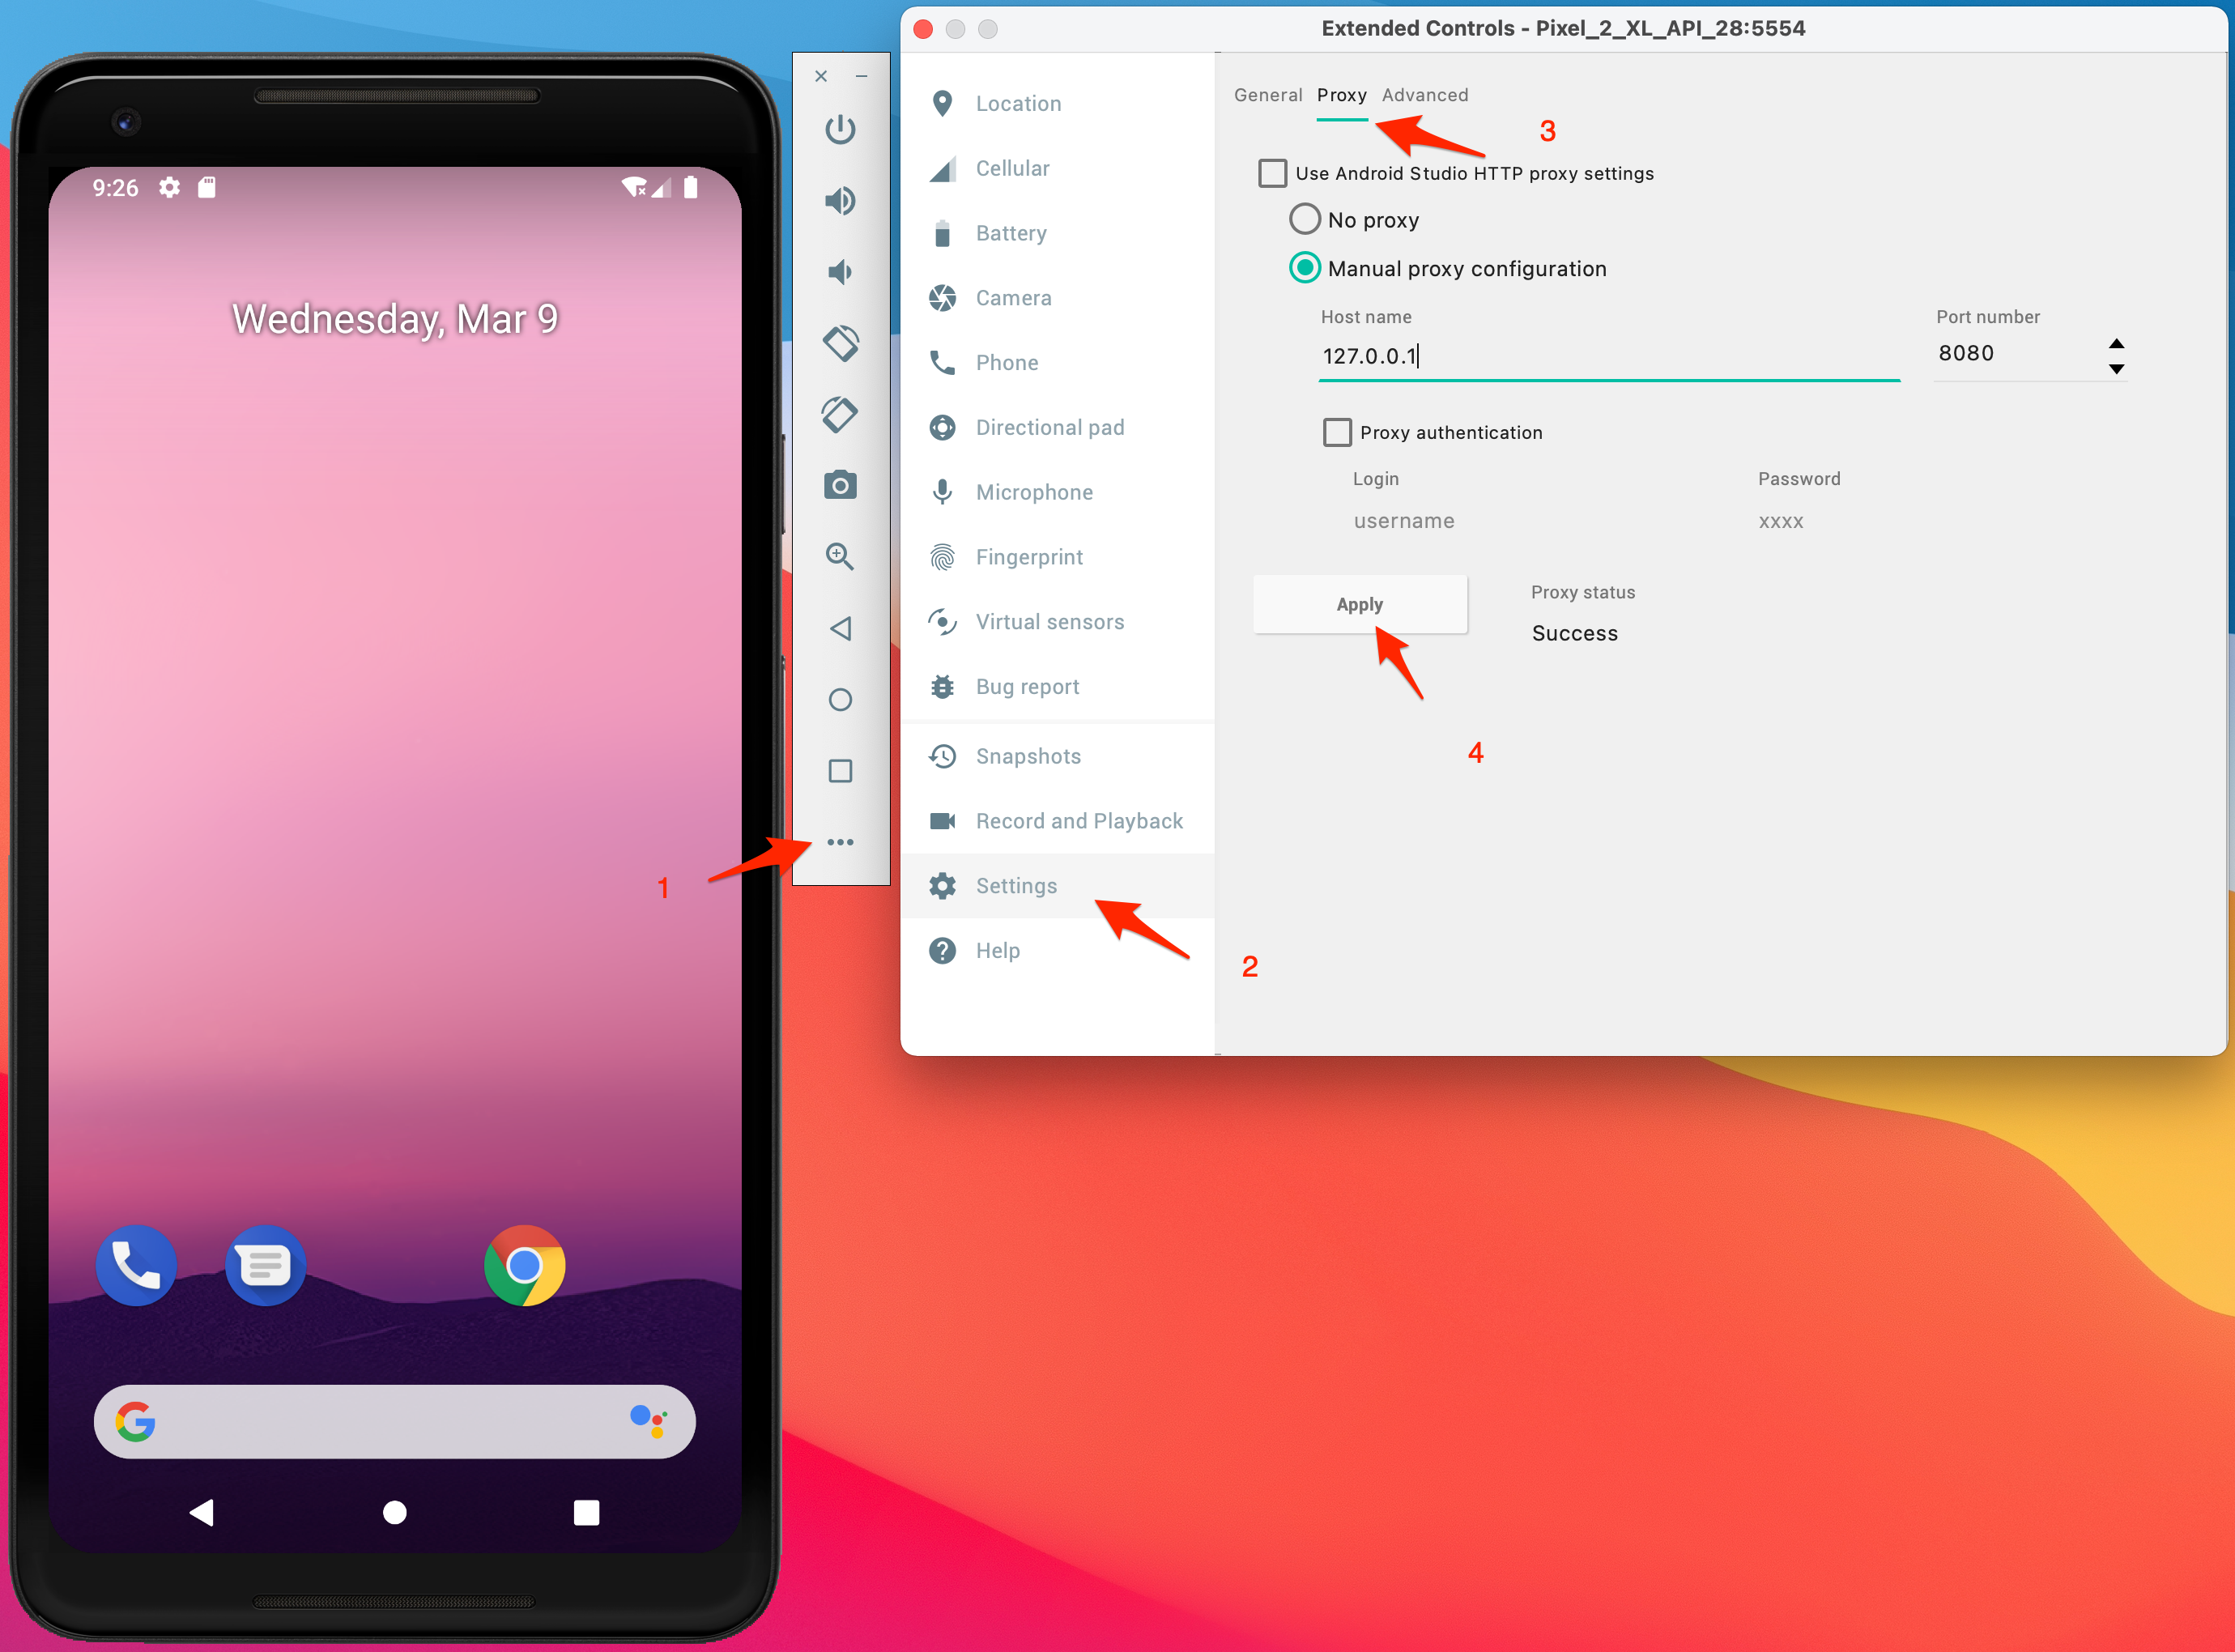
Configure Proxy
- Select
Menu -> Settings -> Proxy - Set the proxy Host name and Port as shown below.
![image]()
- Click
Applyand exit from the menu.
Install Frida and Objection on Host
1
2
➜ python3 -m pip install frida-tools
➜ python3 -m pip install objection
Test that the installation and configuration is successful by running
fridaandobjection
1
2
3
4
➜  frida --version
15.1.17
➜  objection version
objection: 1.11.0
Install Frida Server on the Emulator.
- Download the latest release of Frida Server
- Make sure to choose the build that is compatible with your emulator. For the example above, we chose
Piewhich isx86so I’ve downloadedfrida-server-15.1.17-android-x86 - Once it is downloaded, push it to the virtual device.
1
➜  adb push frida-server-15.1.17-android-x86 /data/local/tmp/frida
- Make it executable and then run it.
1
2
➜  adb shell "chmod 755 /data/local/tmp/frida"
➜  adb shell "./data/local/tmp/frida &"
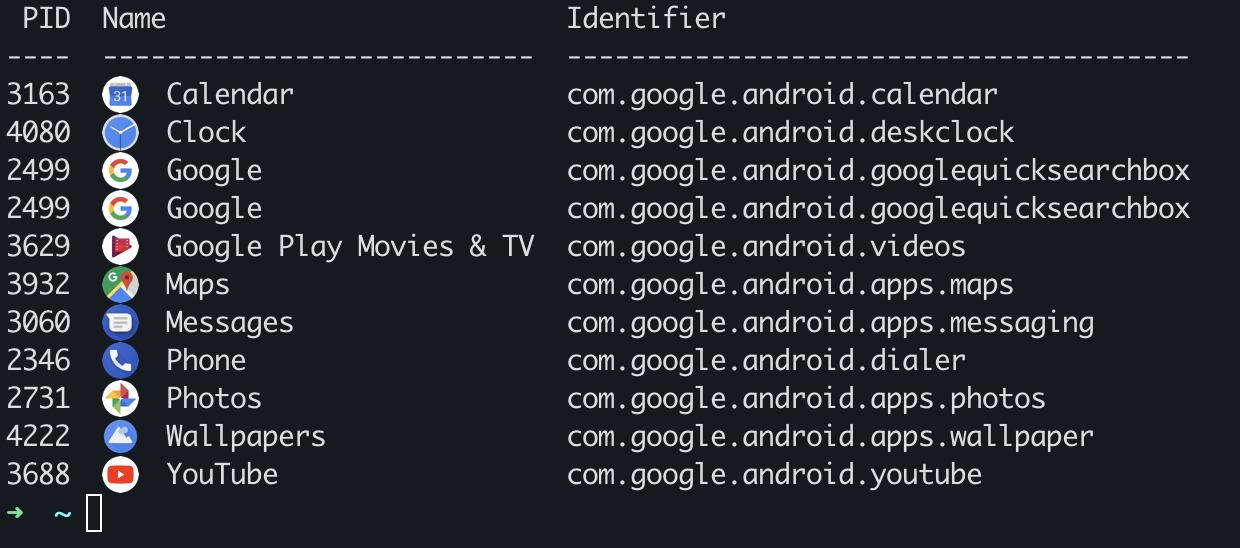
- Open a new terminal and use
frida-ps -Uato ensure that the server is running.![image]()